DIY Fall Chalkboard Pumpkin Sign - Oh, YES please!!!
You guys...you know my obsession over anything that involves chalkboards. I am doing the happy dance about this new DIY chalk product I discovered. So, you see those cute chalkboard signs and think there is no way with my handwriting and creative skills I could ever have a chalkboard looking so adorable. {Is anyone nodding their head here?!?} Well...this product is the perfect solution. I know you will be as excited about it as I am!!!
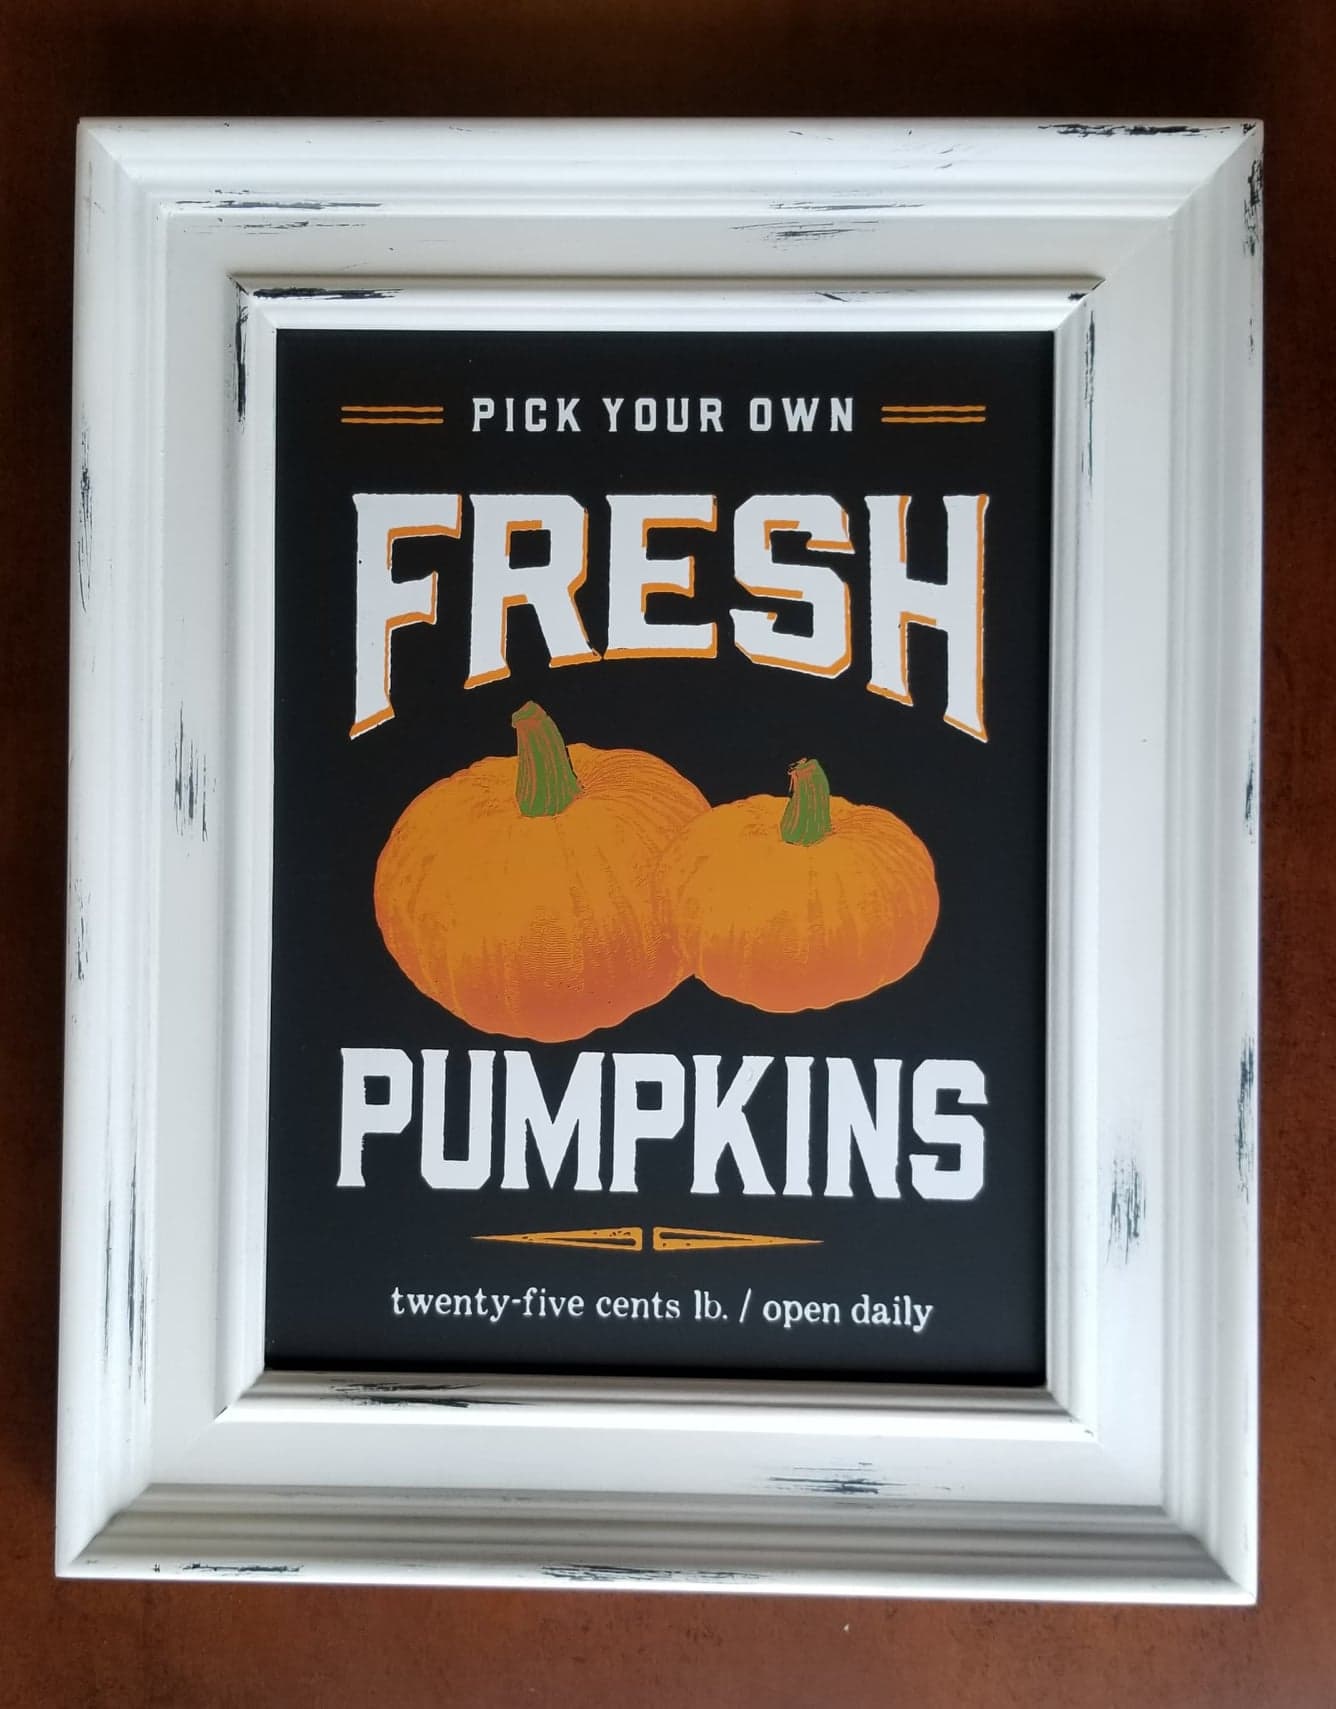
Chalk Couture is a new DIY craft company. They’ve created reusable silk screen transfers and chalk paste {not paint} that help you create chalkboards, signs and home decor like this perfect pumpkin sign - in minutes!
Isn’t this amazing?!! Did you ever think you could create such a chalkboard masterpiece? Here are is the step-by-step on the DIY including everything you will need:
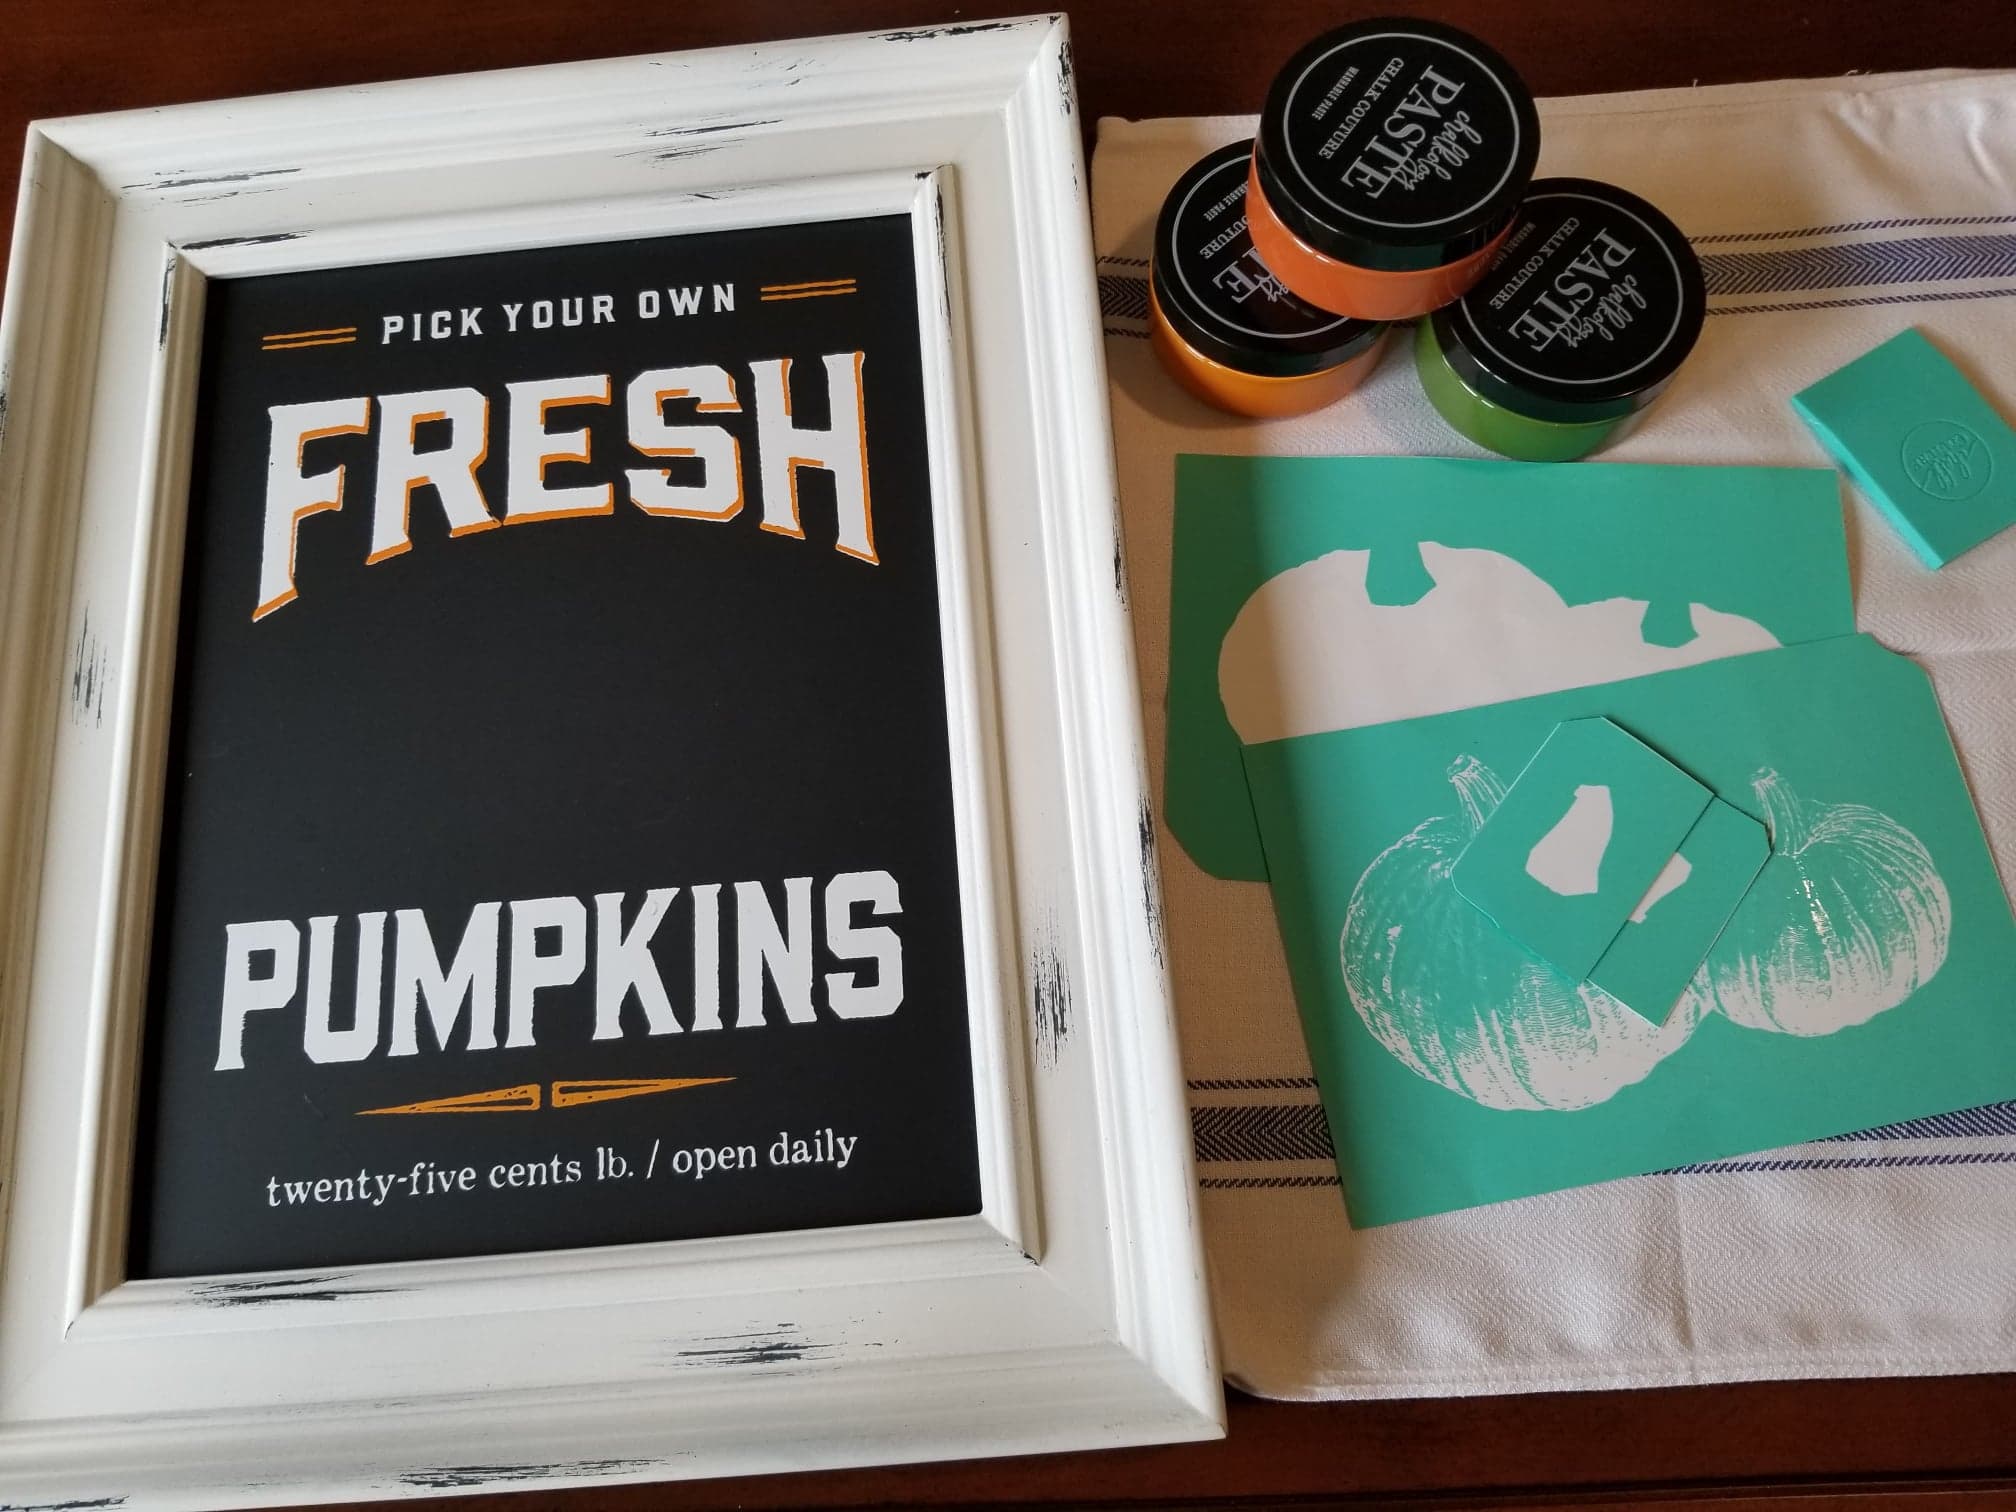
Supplies for chalking:
Microfiber dish drying mat – to lay transfers on for cleaning/drying https://www.amazon.com/gp/product/B00GFUV1UW/ref=oh_aui_detailpage_o00_s00?ie=UTF8&psc=1
Microfiber Cleaning Cloth – to wipe transfers clean
Water bottle for spraying transfers – fill with warm water
https://www.amazon.com/gp/product/B0754M6MN5/ref=oh_aui_detailpage_o00_s01?ie=UTF8&psc=1
Clorox Disinfecting Wipes, Crisp Lemon – aids in cleaning transfers
https://www.amazon.com/gp/product/B078HRLXYG/ref=oh_aui_detailpage_o00_s02?ie=UTF8&psc=1
Chalk Couture Squeegee
https://www.chalkcouture.com/thisnewoldhouse/product/T183105
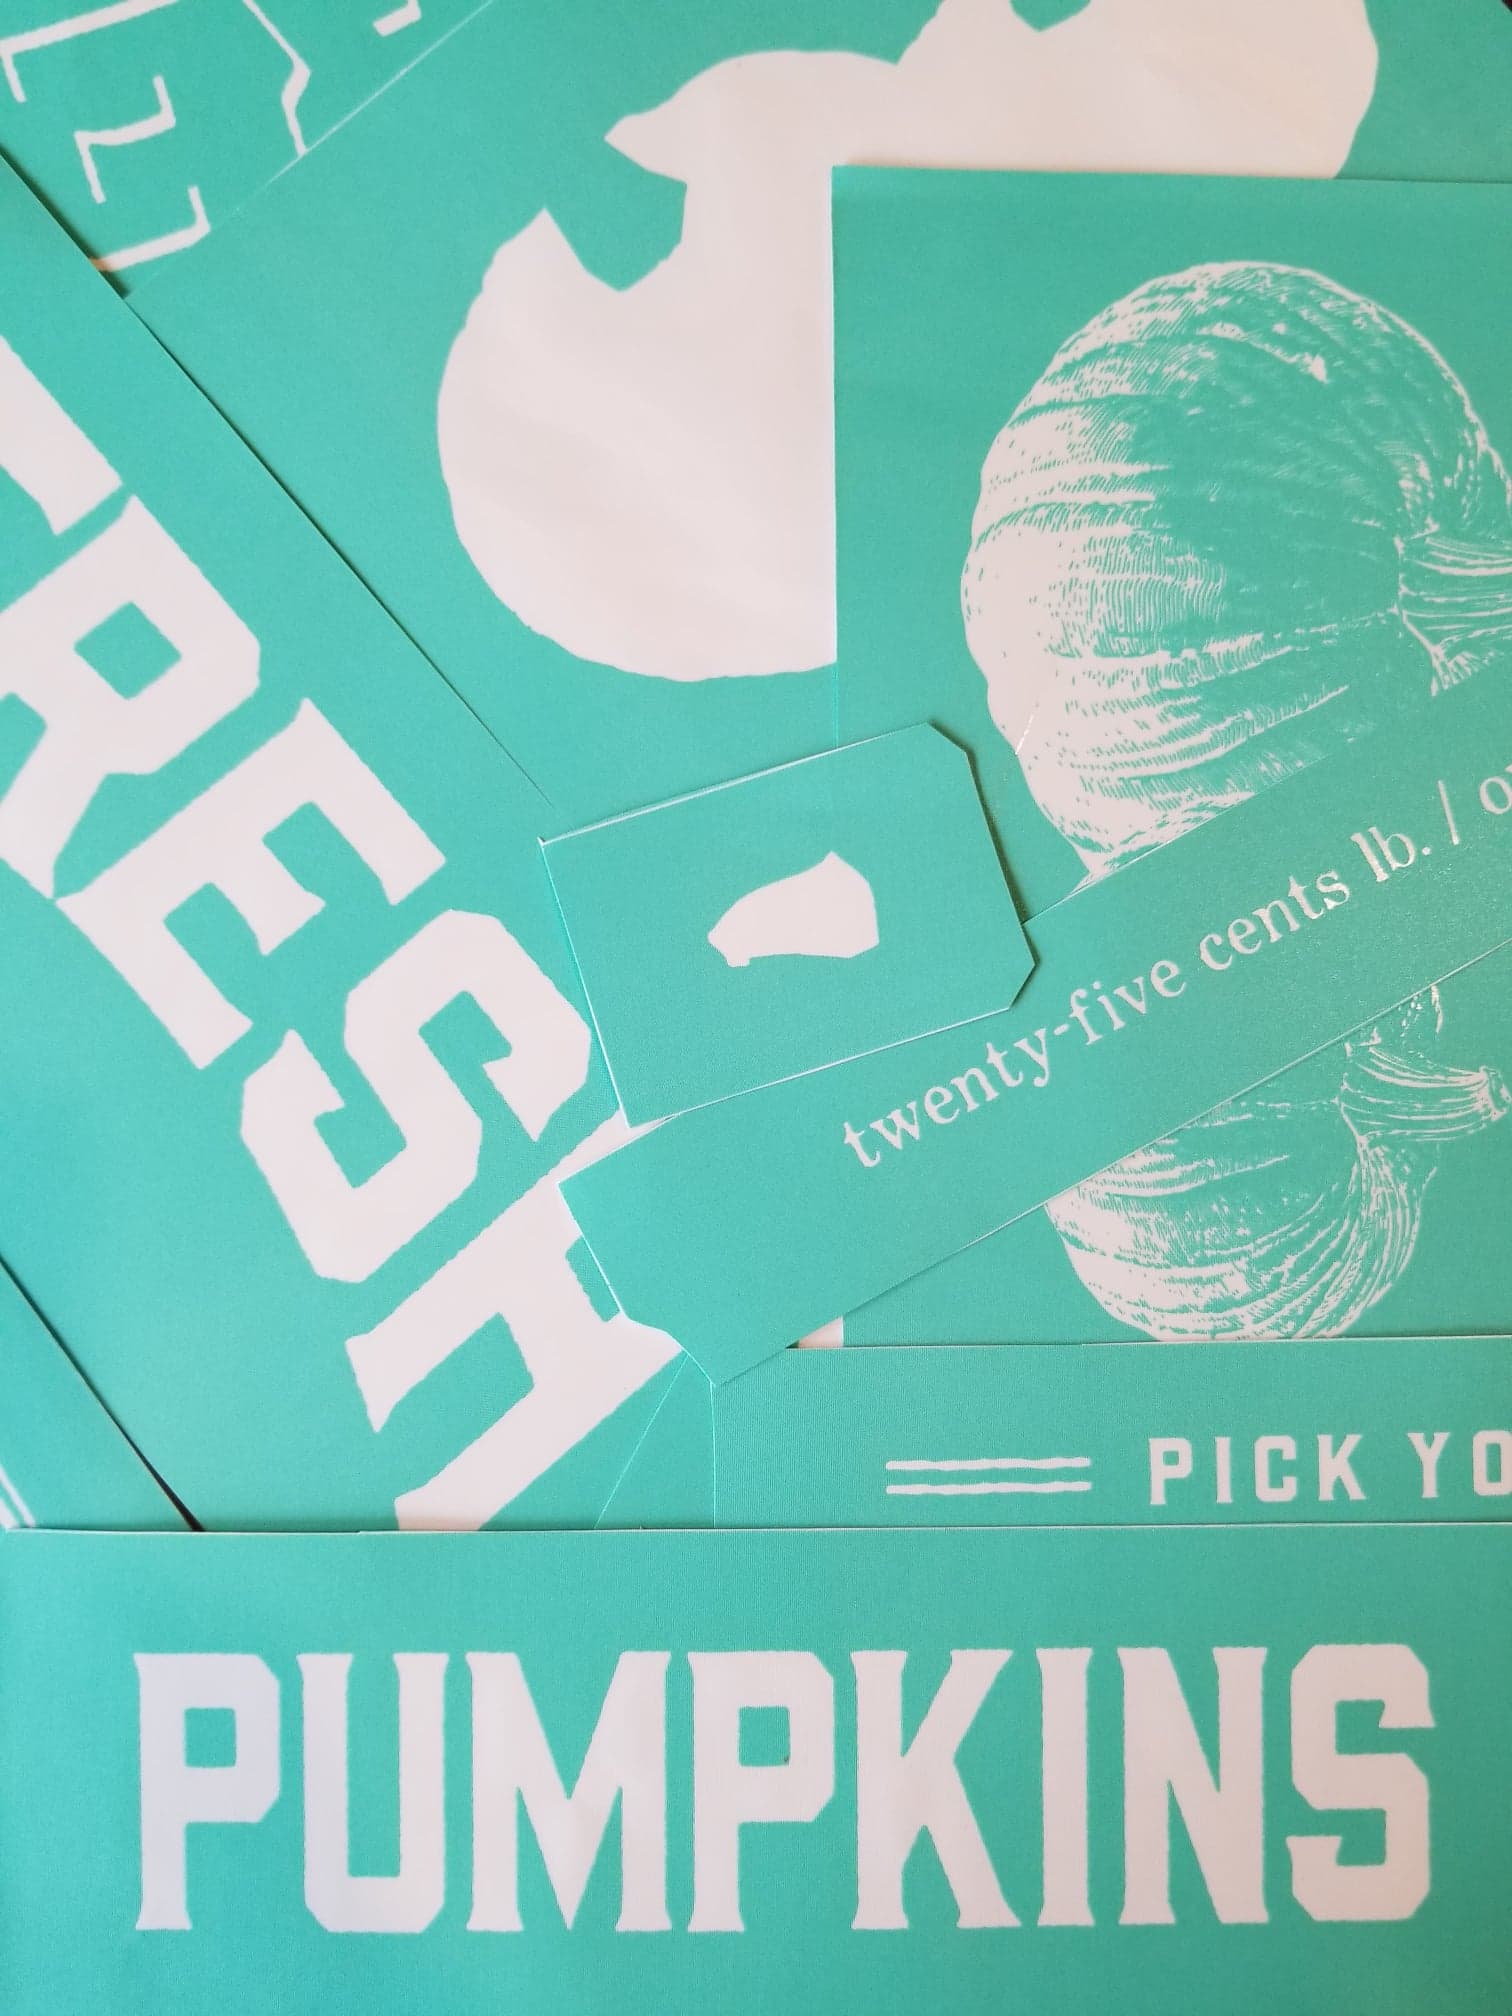
Fresh Pumpkins Transfer
https://www.chalkcouture.com/thisnewoldhouse/product/C183127
Chalk Paste - White
https://www.chalkcouture.com/thisnewoldhouse/product/P181139
Chalk Paste – Pumpkin Pie
https://www.chalkcouture.com/thisnewoldhouse/product/P183182
Chalk Paste – Orange Peel
https://www.chalkcouture.com/thisnewoldhouse/product/P183180
Chalk Paste – Garden Herb
https://www.chalkcouture.com/thisnewoldhouse/product/P181120
Now the fun part...chalk Instructions. Let’s create!!!
As needed, cut Chalk Couture transfer into individual design sections, following lines on Transfer.
Decide transfer placement on surface.
Peel white backing from transfer, pulling top to bottom to avoid stretching transfer. (Ensure sticky side does not curl and touch.)
“Fuzz” transfer’s adhesive side by placing sticky side down on a dish cloth. This will soften the adhesion of the sticky side. Smooth down lightly. Peel up and repeat several times. If surface is not a Chalk Couture surface, you may need to “fuzz” repeatedly. You can test a corner of the transfer on the surface to see how well it sticks. If transfer is too sticky, “fuzz” again.
Note – If surface is wood or painted, you may wish to wax or seal the surface before applying the transfer. This will help so that transfer does not adhere to the surface.
Place transfer onto surface and smooth down so there are no air bubbles. This step is important so that chalk paste does not bleed under the design.
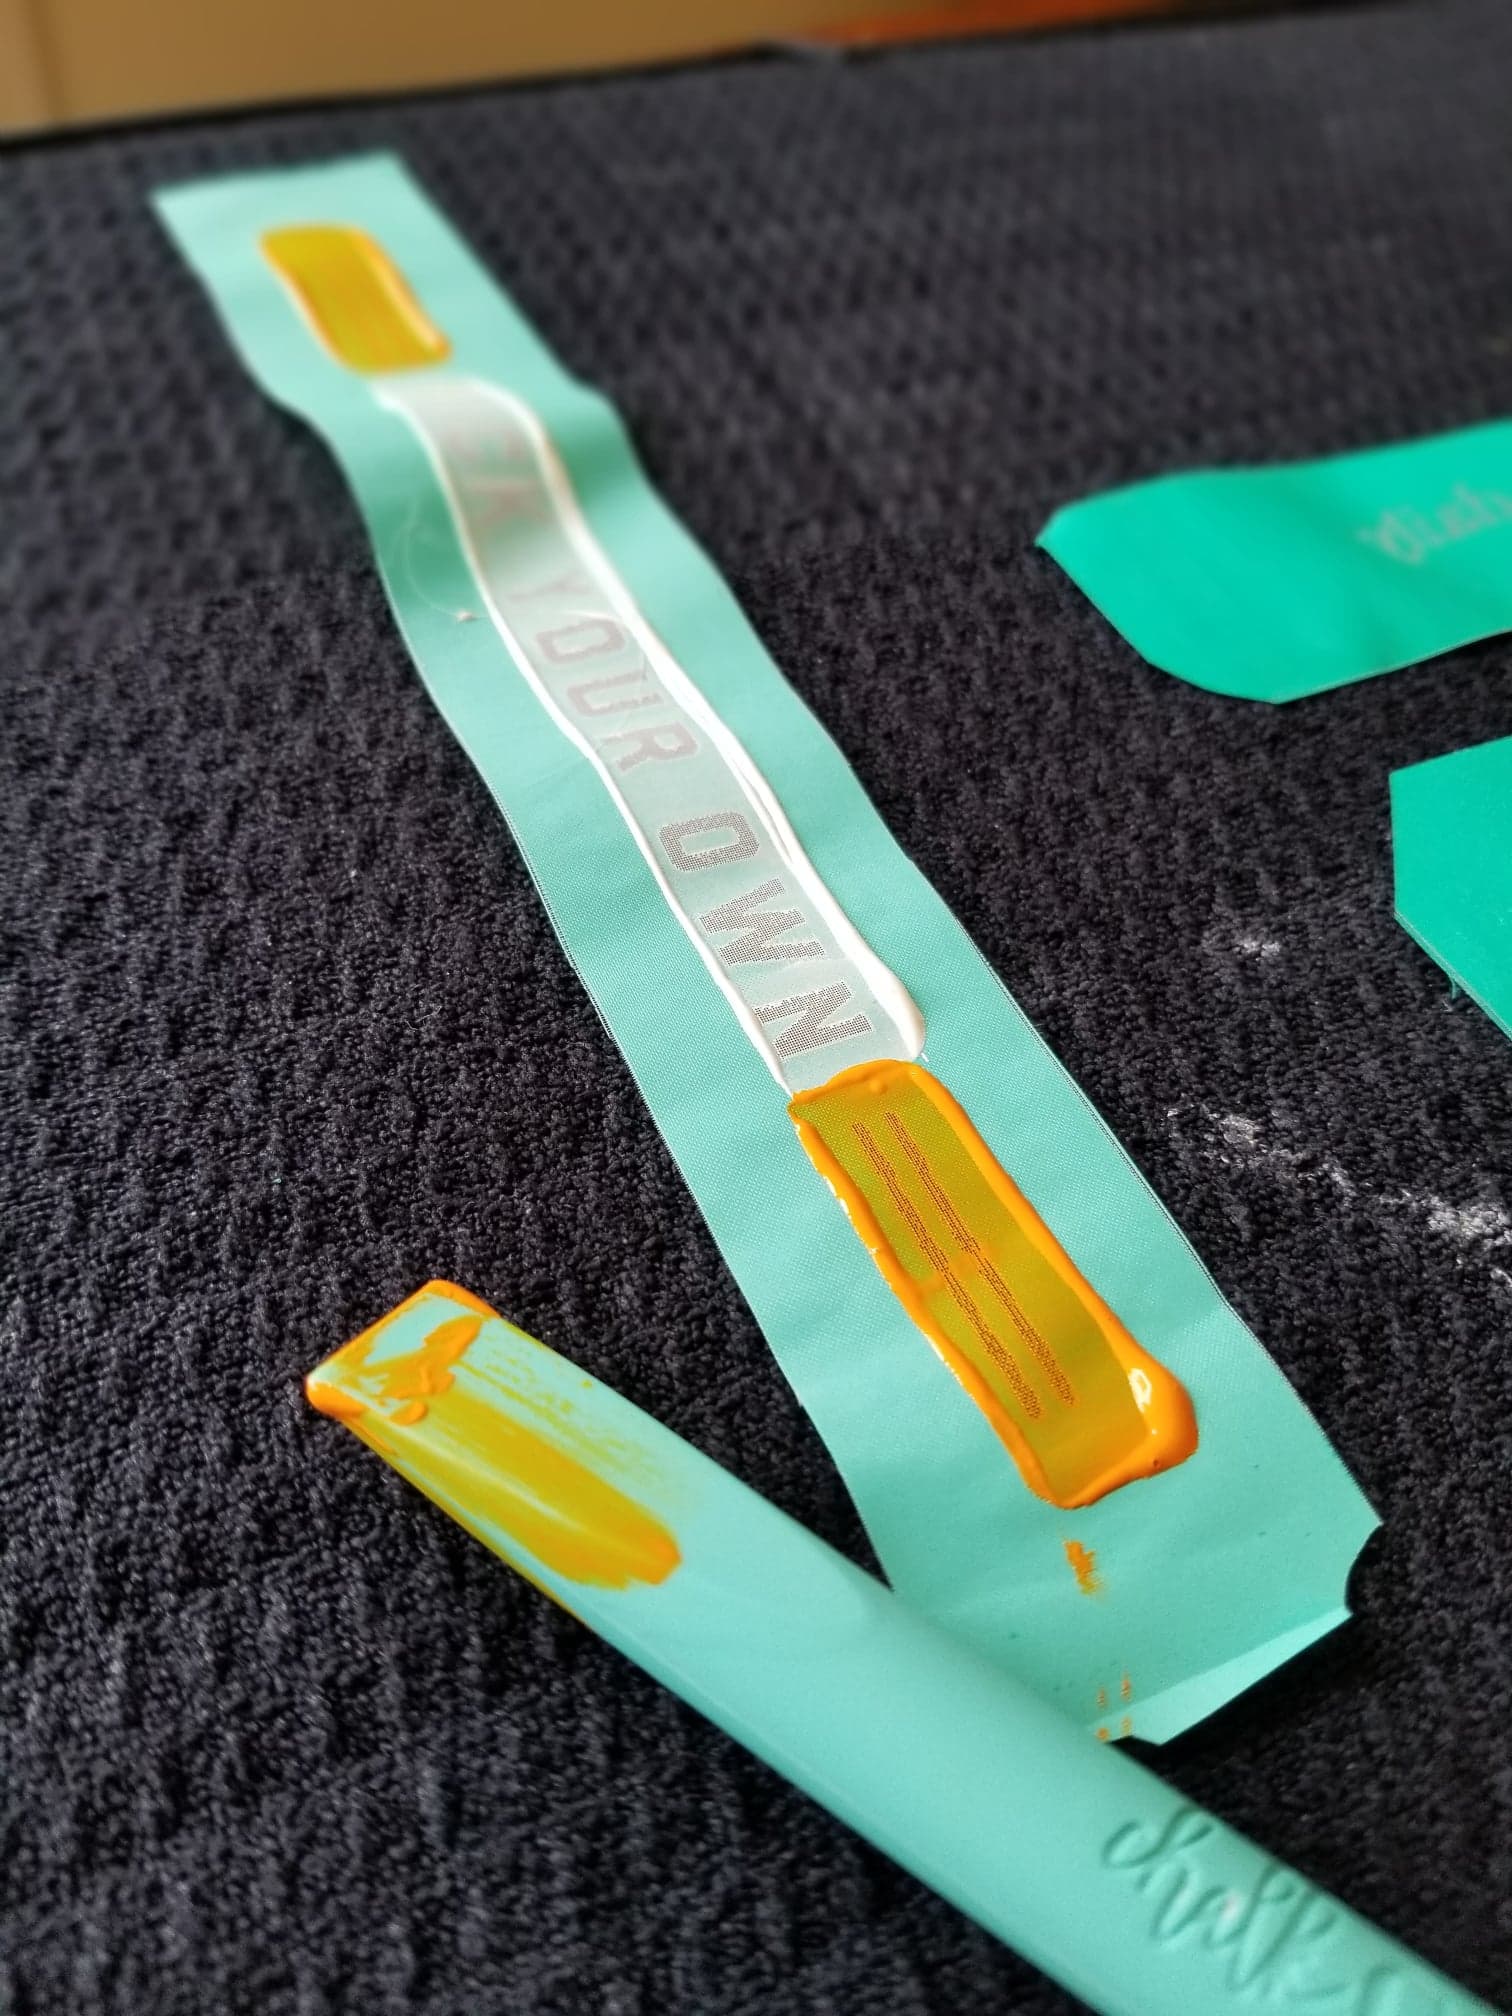
Apply chalk paste by spreading in a thin, even layer over design using squeegee. Scrape excess off transfer and return to jar for future use. Work quickly and do not allow the chalk paste to dry before transfer is removed from surface.
Remove transfer slowly from surface; avoid pulling diagonally so transfer does not stretch. (Ensure sticky side does not curl and touch as it is removed from surface.)
To clean transfer, place on microfiber dish mat, sticky side down.
Spray transfer using water bottle. Wipe any remaining paste with microfiber cleaning cloth. Flip transfer over and repeat. You may need to repeat this step one more time if any chalk paste remains. Some discoloration or staining of the transfer may occur. This is okay. It is important chalk paste has been removed from the silkscreen design so design area will be clear for next use.
If transfer is losing its adhesiveness, you can wipe sticky side with a Clorox disinfecting wipe.
Dry the transfer by laying flat with sticky side up on microfiber dish mat. You may expedite drying by using a blow dryer on low heat. When fully dry, return transfer to shiny side of white backing. (It may help to mark the non-shiny side of the backing with a pen or marker to ensure transfer is properly stored on the shiny side.)
Now that you have the hang of it keep going with the rest of your design transfers and chalk and watch the magic happen on your DIY project!!!
Store transfers when done with your project in a cool, dry place.
Ta-dah...ENJOY!!!
Check out your next Chalk Couture project ideas here and DIY away, my friends: https://www.chalkcouture.com/thisnewoldhouse


